


Ma sem halunk éhen · Recipes
Incredibly Moist Apple Mug Cake Recipe

-
Prep Time15 minutes
-
Baking time40 minutes
-
Serving4
-
Total time55 minutes
Author: Robcsa – I’m not a chef, just an enthusiastic dad who loves to create in the kitchen at home, and for the sake of family harmony, I always keep a simple dessert on hand.
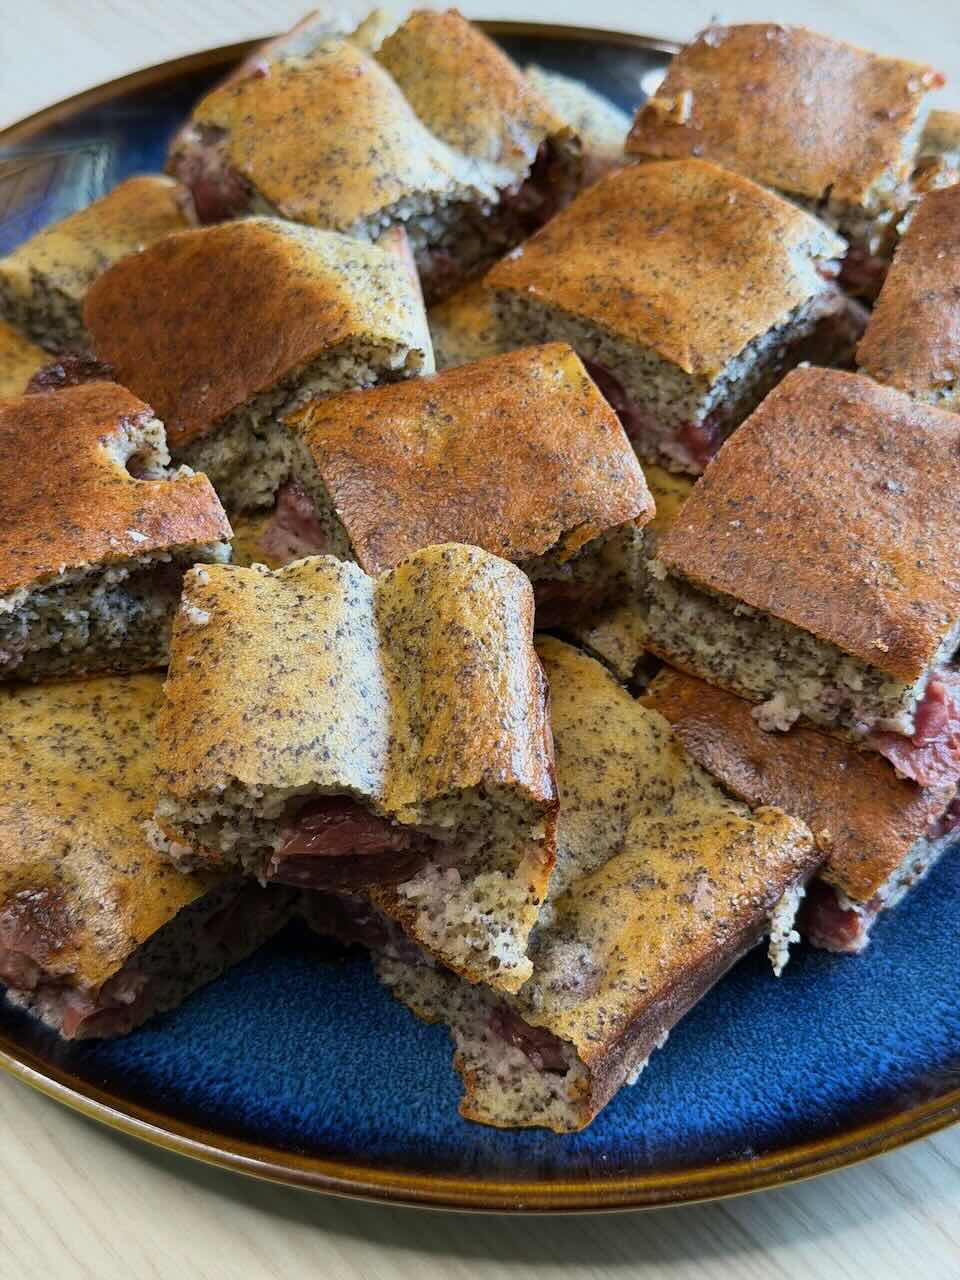
If you’re looking for a cake that you can whip up without a scale, this apple mug cake is just the thing. No pastry skills are required, nor hours of fussing at the countertop. It’s almost a staple in our home when we have a few apples that are starting to wilt and the family craves something sweet.
I’m not a professional, but I’ve learned this trick: grated apple saves everything. I used to tend to overcomplicate baking, measuring out grams, and often the result was dry as sawdust. But with this cake, there’s no stress. You mix the dry ingredients in one bowl, the wet in another, combine them, and into the oven it goes.
The key is in the moisture: the apple releases its juice as it bakes, keeping the batter soft for days.
Why does this apple mug cake recipe work?
- No scale needed: With a simple 250 ml mug, you can measure everything in minutes, so the cleanup won’t take half the afternoon.
- The apple provides moisture: As the grated fruit bakes in the batter, it steams and keeps the cake moist from the inside.
- The salted caramel at the end elevates everything: The sweet-salty contrast with cinnamon and crunchy nuts makes it much more exciting than a plain sponge cake.
- You can’t overmix: Since you just gently fold with a wooden spoon, the batter stays light and won’t become rubbery.
Tools
- 250 ml mug: For measuring, no scale needed.
- Two mixing bowls: One for dry ingredients and one for wet.
- Medium baking pan (about 20×30 cm): Lined with parchment paper (if you don’t have parchment, butter and flour will work too).
- Large-holed grater: For grating the apple.
- Wooden spoon or spatula: For folding the mixture.
- Toothpick or skewer: For testing doneness.
Common Mistakes
- Pressing the apple too hard: I’ve often ruined it at the start because I was afraid the batter would be soggy. But if you press it bone-dry, the cake will dry out in the oven. Just gently squeeze it once with your hand.
- Overmixing the batter: If you go at it with a mixer for minutes, the gluten in the flour will make it dense and rubbery. Just mix until the white flour spots disappear.
- Adding the caramel too early: If you pour the sauce over the hot cake, it will run off in an instant and soak the edges. Wait until the pan has cooled to at least lukewarm.
Pro Tips
- Choose tart apples: We find that Idared or Jonagold work best. Tart varieties balance the sugar and caramel much better.
- Toasting nuts: If you have an extra two minutes, toast the coarsely chopped nuts in a dry pan before sprinkling them on the batter. They will stay crunchier on top of the cake.
- Tip if you’re in a hurry: There’s no need to peel the apples before grating if you wash them thoroughly. The skin will soften completely during baking, and no one will notice. This simple mixed cake is all about getting to a delicious bite with minimal effort.
Variations
- Cinnamon apple cake with extra spices: You can add a pinch of ground ginger and cloves along with the cinnamon, which works wonderfully on cooler autumn evenings.
- Chocolate-caramel version: If you don’t have nuts at home, sprinkle a handful of chopped dark chocolate on top of the batter before baking.
- Instead of a juicy apple pie: If guests are coming and you don’t have time to roll out and rest dough, this recipe works great as a quick alternative; served with vanilla ice cream, everyone will love it.
- Raisin version: If your family likes it, you can fold in half a cup of raisins soaked in rum or warm water into the batter along with the flour.
Cooling and Storage
Cooling:
We rarely have leftovers the next day, but if we do, there’s no need to refrigerate immediately. At room temperature, covered with a clean kitchen towel or plastic wrap, it will stay soft for 2 days. If it’s warm in the house, place it in a sealed container and it can go in the fridge, where it will last for 4-5 days.
Storage:
The batter can also be frozen when cut into slices. Wrap them individually in parchment paper, then place them in a freezer bag. After thawing, the caramel may get a bit runny, but the texture will remain just as soft.
Reheating
I usually reheat it in the oven because that way it doesn’t lose its texture.
- In the oven: Preheat to 150°C, cover the slices with aluminum foil, and bake for 6-8 minutes.
- In the microwave: If you’re in a hurry, 15-20 seconds on medium power (about 600W) is just enough. Don’t leave it in longer, as the microwave can easily make the sponge rubbery.
- Do not use a pan for this, as the caramel surface will stick and burn immediately.
FAQ
What type of apple is best for this?
Any firm-fleshed apple you find in the pantry works well. Tart varieties are the best because they balance the sugar, but a mix of apples will also be great.
Is the salted caramel necessary?
Not at all. If you don’t have store-bought sauce on hand, a simple dusting of powdered sugar or a bit of apricot jam on top works just as well.
Will the batter be too runny from the apple?
No, as long as you gently squeeze out the excess juice by hand after grating. The batter may seem quite thick at first, but during baking, the apple releases just the right amount of moisture.
Can I bake it in muffin tins?
Yes, easily. Line the muffin tin with paper liners and bake at 180°C for about 20-25 minutes. Don’t forget to do the toothpick test!
Summary
I think this cake is a real lifesaver when you need a quick dessert for the kids or friends. No pastry diploma is required, you don’t have to wait hours for it to rise, just throw the ingredients together and it’s baking. If you’re craving a hearty, moist dessert over the weekend, this mug version always works for us.
You can find more great treats by browsing our site further.
Most of our recipes are backed by a little community where we share mistakes, tips, and improvements. If you’d like to join our Facebook page, you can find us here.
YOUR RECIPE
Ingredients
Some units use ingredient-specific estimates.
- Dry Ingredients:
- Wet Ingredients:
Directions
Preparation: Preheat the oven to 180°C (top and bottom heat), and line the baking pan with parchment paper. I usually crumple the paper a bit in my hands beforehand, as it fits into the corners of the pan much easier.
Dry mixture: In a bowl, mix together the flour, sugar, baking powder, cinnamon, and salt. It's worth using a hand whisk to mix it, so the baking powder distributes evenly throughout the flour.
Wet mixture: In another bowl, whisk the eggs with the oil, then add the lightly squeezed grated apple. Don't squeeze out all the juice completely, or it will lose its true moisture.
Combining: Pour the flour mixture into the apple mixture, and quickly fold together with a wooden spoon or spatula until the flour disappears (you'll get a thicker batter, but the apple will soften it during baking). There's no need to beat it with a mixer, as overmixing will result in a dense final product.
Baking: Spread the batter into the pan, sprinkle with nuts, and bake for 35-40 minutes. Perform a toothpick test in the center: if no raw batter sticks to the toothpick, it's done. If the nuts on top are browning too quickly, loosely cover with a piece of aluminum foil for the last ten minutes.
Finishing: Once cooled to lukewarm, drizzle the top with store-bought salted caramel. Wait until it is at least lukewarm, as the sauce will run off immediately on a hot cake.
Nutrition
1 serving = ~260 g (the entire recipe divided into 4 servings, accounting for baking moisture loss)
- Daily Value*
-
Energy: 891 kcal45%
-
Fat: 35.8 g51%
-
of which saturated fat: 5.2 g26%
-
Carbohydrates: 128.5 g49%
-
of which sugar: 67.3 g75%
-
Protein: 14.4 g29%
-
Fiber: ~ 4.8 g~ 19%
-
Salt: ~ 0.83 g~ 14%
- The reference intake value is based on an average adult diet of 2000 kcal.





Leave a Review